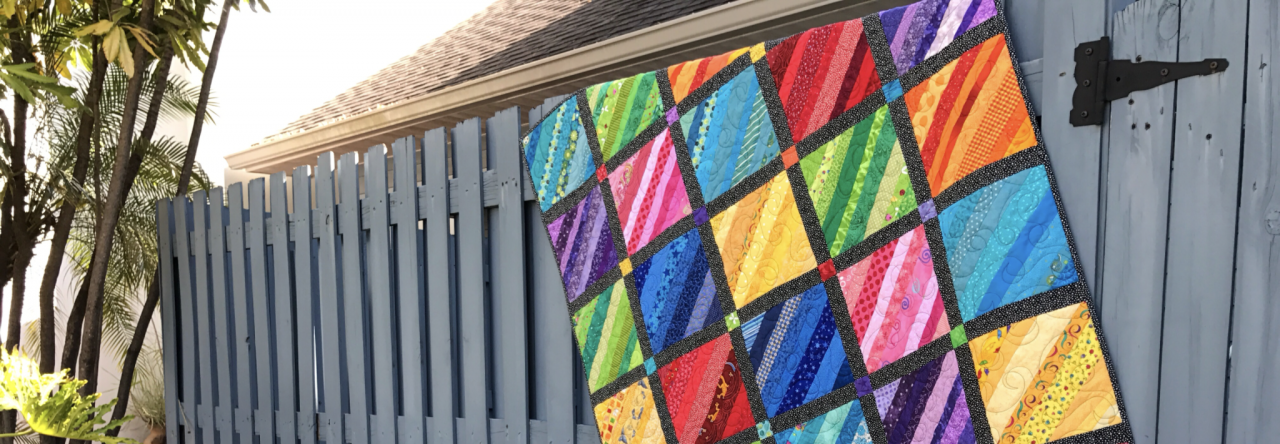
I’ve been making doll quilts with my leftover bits and pieces for a number of years. Some have gone to my granddaughters and some have been donated but it can be a challenge to find a place to donate them. Earlier this year I started thinking that with all the leftover Minkee and flannel from backings maybe I could make some simple bears and donate them with the doll quilts to a local organization. Scroll down a bit to get to the bear making discussion.
If you just want to make doll quilts and not the bears, I found a post online that talked about buying bears in bulk from Dollar Tree. I had more quilts than Bears so I bought a box of them. The ones I bought below don’t seem to be available anymore but I did a search at Dollar Tree and others do come up. Click here to view them.

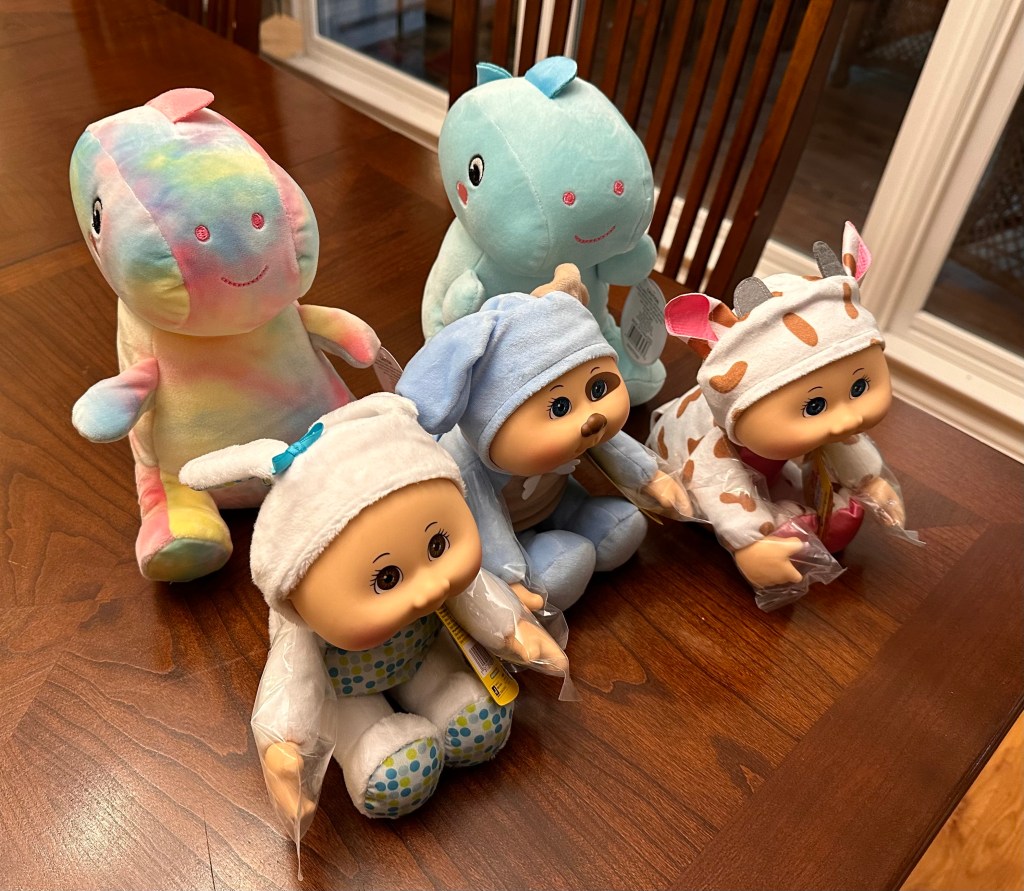
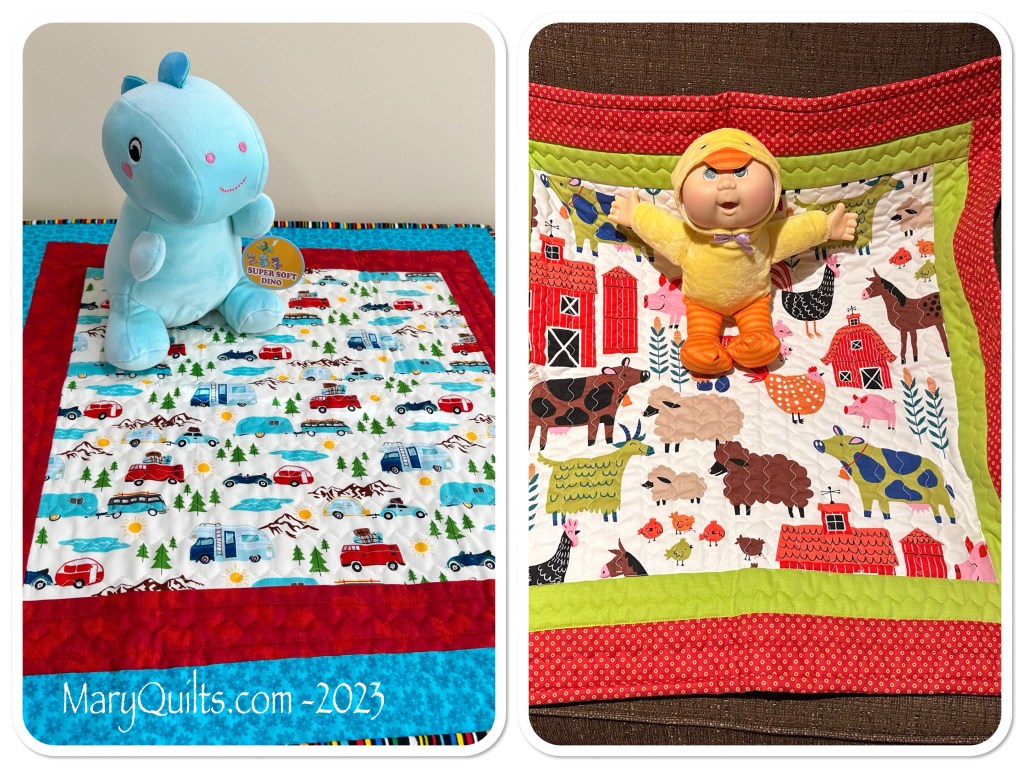
I’ve also found some Cabbage Patch dolls and some plush Dino’s at the local Dollar General store. They’re a bit more expensive but I’m willing to buy a few of these too to mix in with the Dollar Tree bears and the home made bears! Those dolls were $10 and the Dino’s were $5.
Now that Mom is helping to make the little quilts I can donate even more!
SO… back to making the bears!
I looked online for simple patterns and saved them but didn’t get started until Mo was visiting earlier this spring. I was talking to her about making them and she said let’s go down and do it! Way to get me started Mo!!
I’ve tried several patterns and now I pretty much use two simple ones.
Both of these bears were enlarged from their original patterns because I wanted something that was a nice size for the doll quilts. Enlarging them was pretty easy.
After printing them on a full size piece of paper, I folded the paper in half and copied the top half at 120%
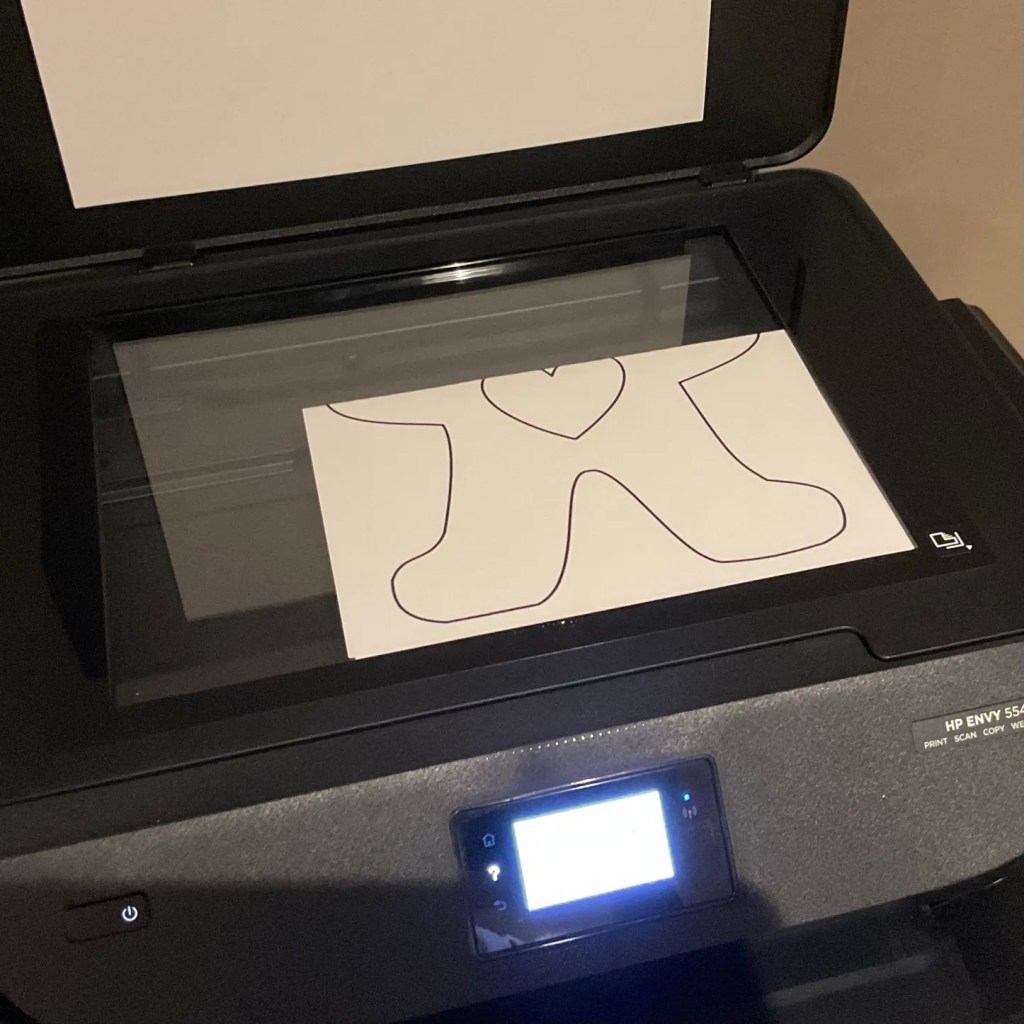
Flipped to the other side and copied it at 120%
Then laid them on the ironing board, lined them up and copied them on a piece of template plastic.

Both of these are free patterns but I did have to sign up for their newsletters to get the actual template.
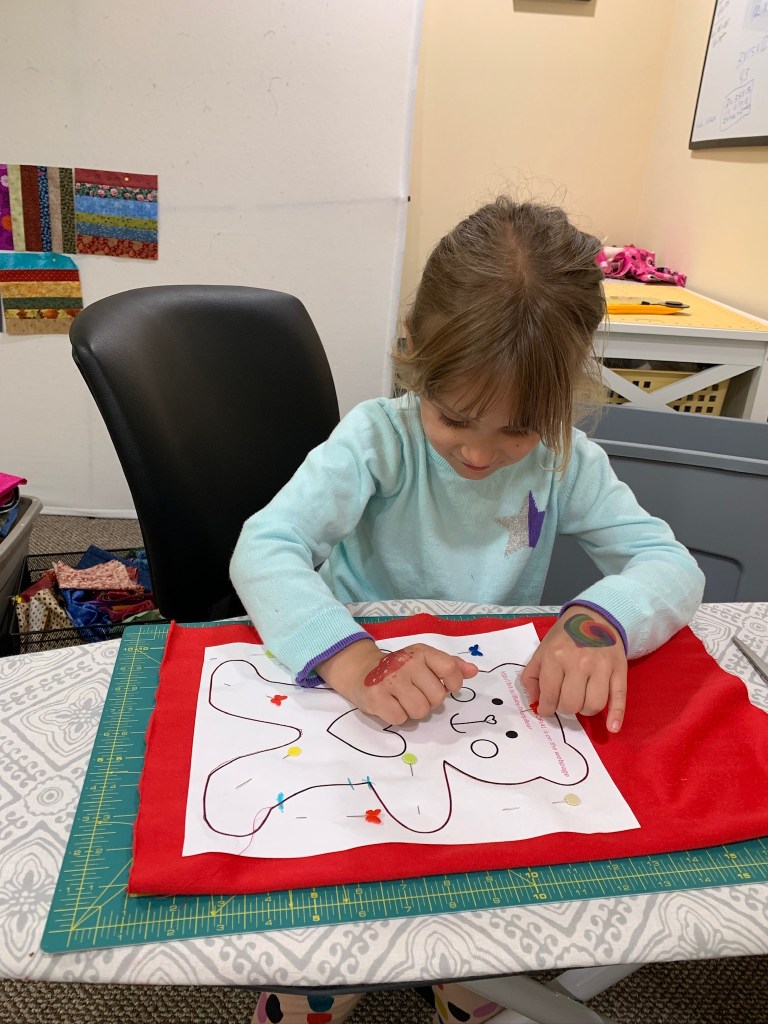
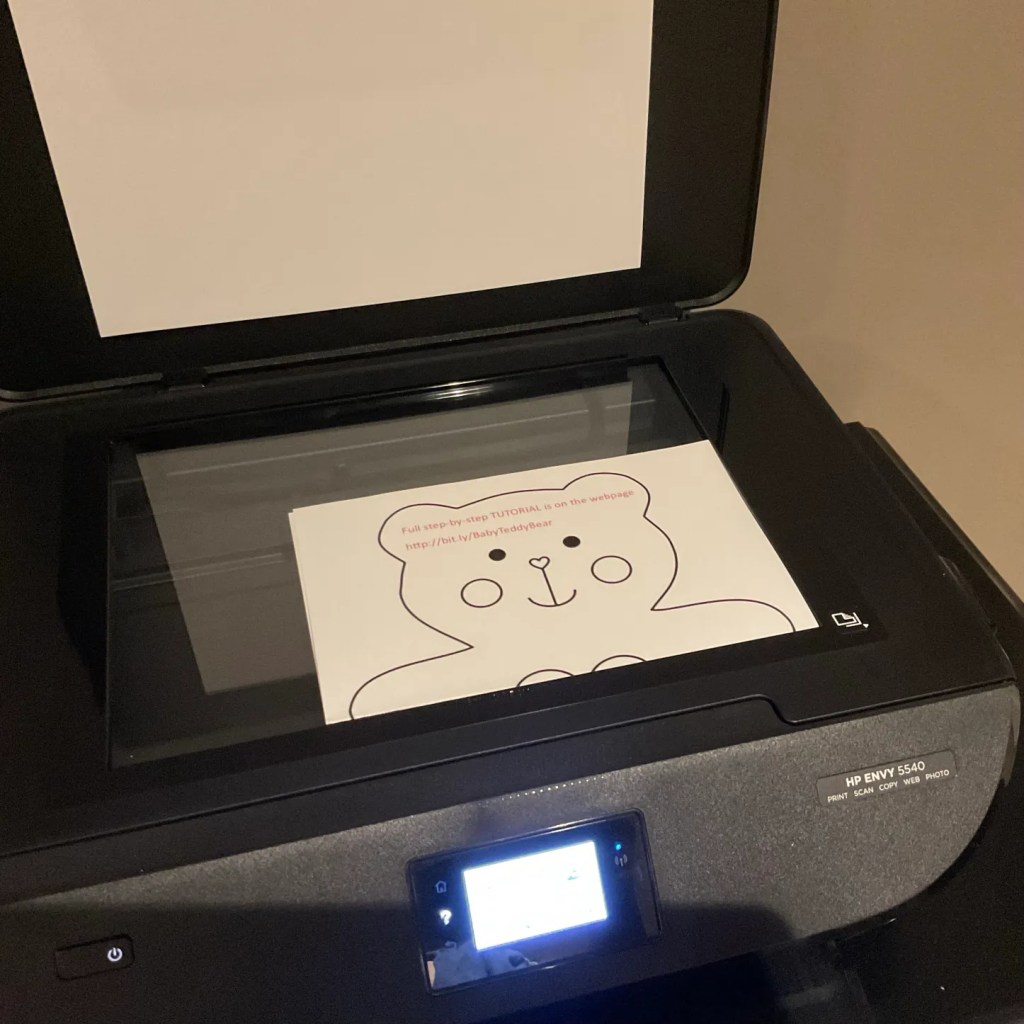
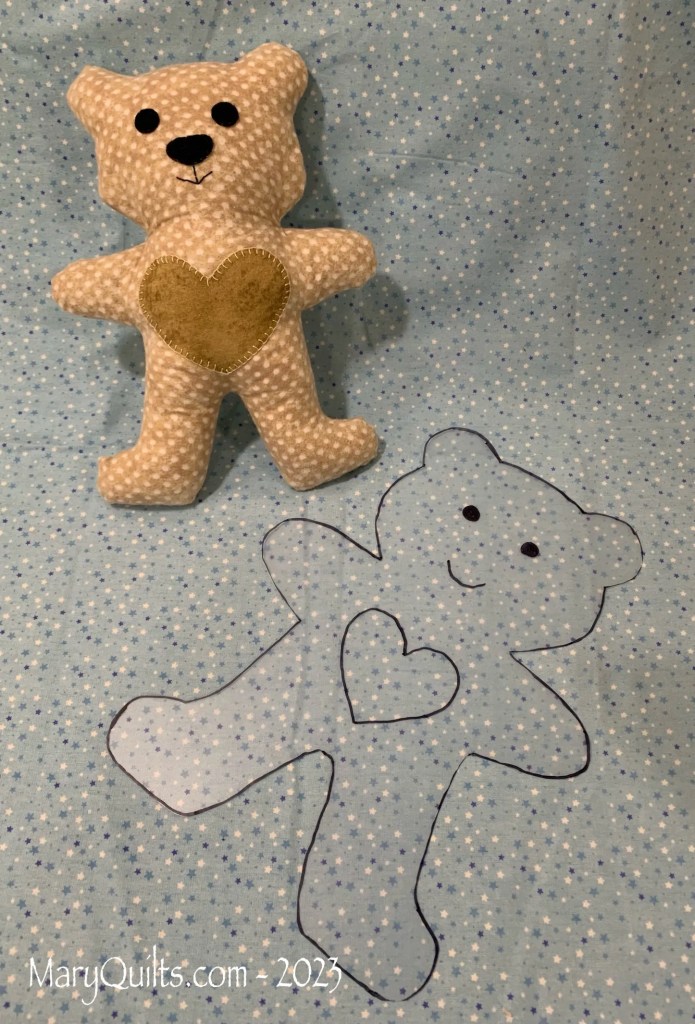
The first one is the Baby Teddy Bear and you can find the pattern at this link. The first one I made for Mo was a smaller version and I followed her instructions sewing through the paper and doing the face after stuffing but I found that challenging so now I trace around my enlarged template with a blue water soluble pen with 2 layers right sides together. I pin and cut them out leaving a generous seam allowance.
I then unpin, do the faces and heart and pin them back together and sew them on the machine leaving the opening to stuff. I also trim the seam allowance narrower after sewing with pinking shears, leaving about 1/4 inch seam. I’d seen that in my search for information about sewing these small stuffed animals.
You’ll notice that my face is different than the pattern. That’s just my preference. I do mark the location of the eyes and mouth on the template so I don’t get them too high (yep, did that once already and learned from my mistake).
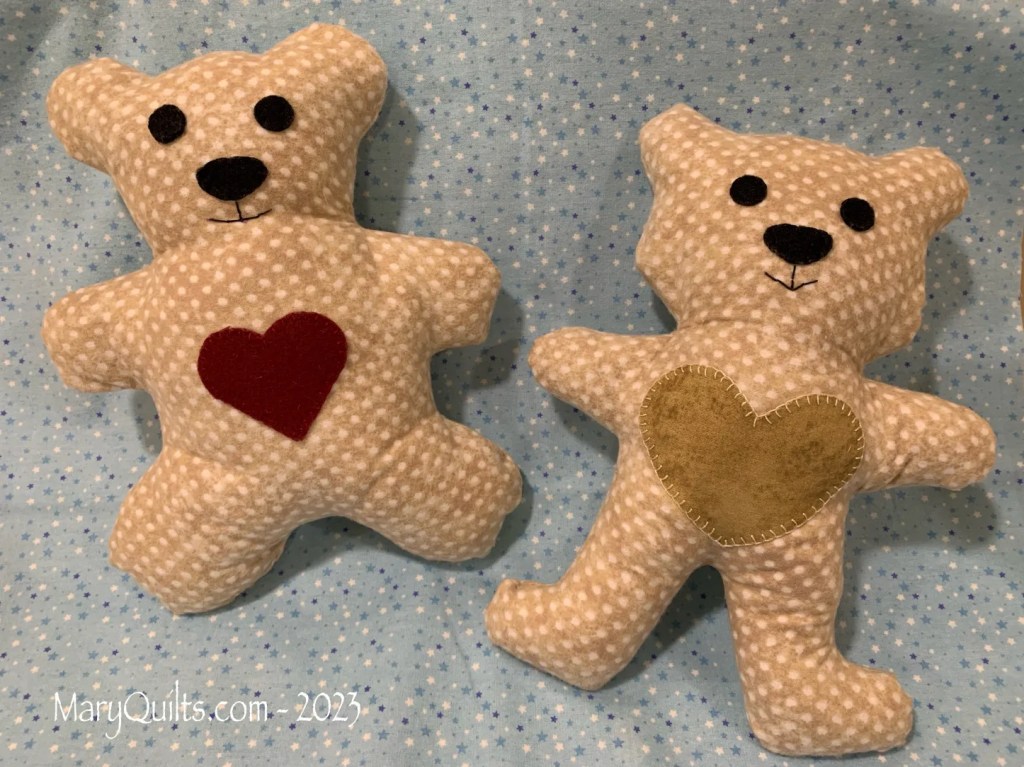
After enlarging the pattern, my bear is about 11 inches tall.
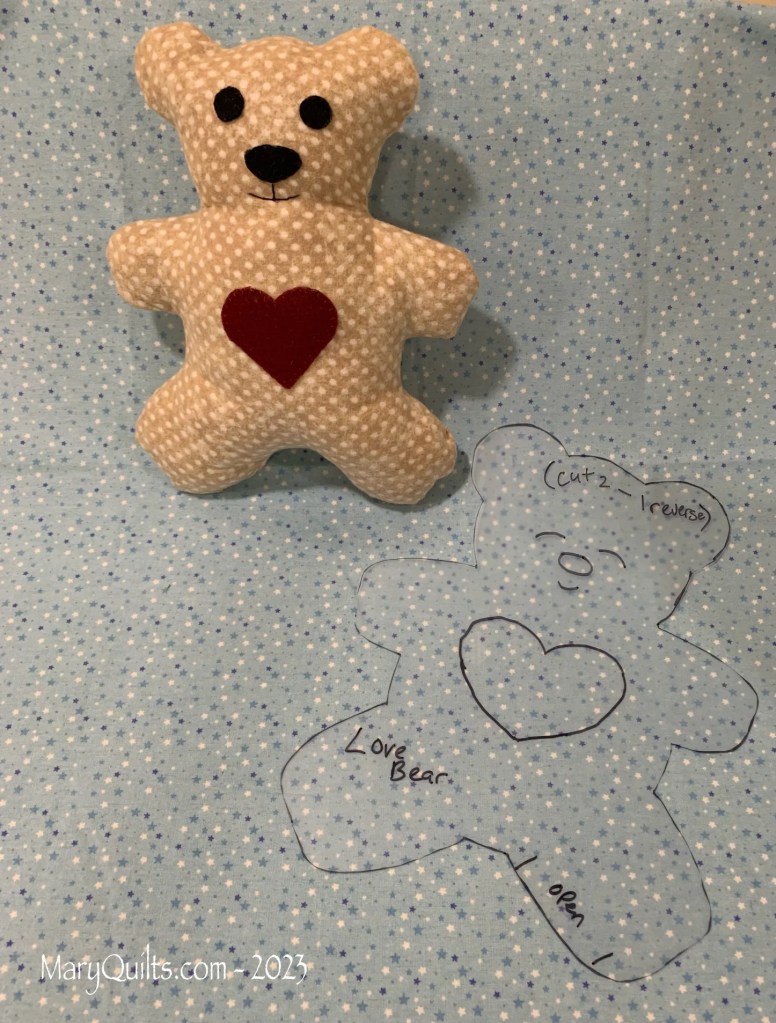
The 2nd one I like making is the Love Bear and you can find the free instructions at this link but again, you will need to sign up for her newsletter to get the template.
After enlarging this pattern, my bear is about 10.5 inches tall.
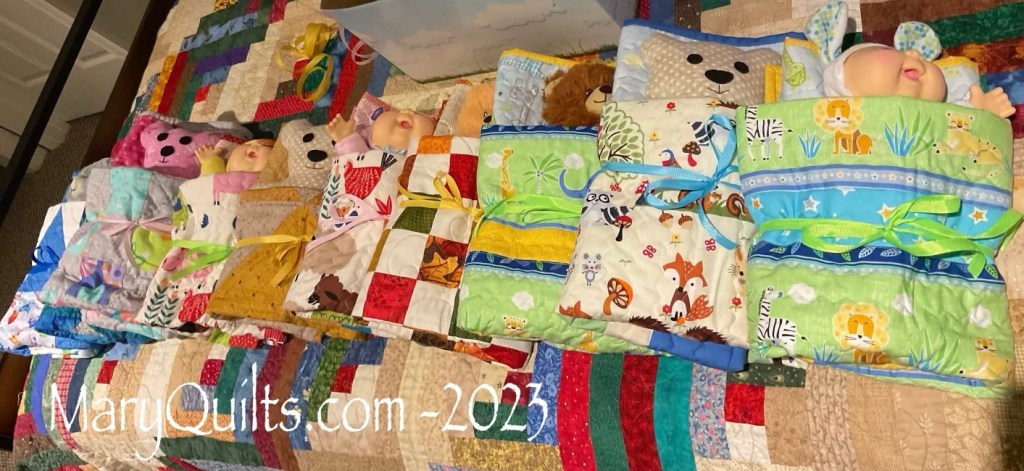
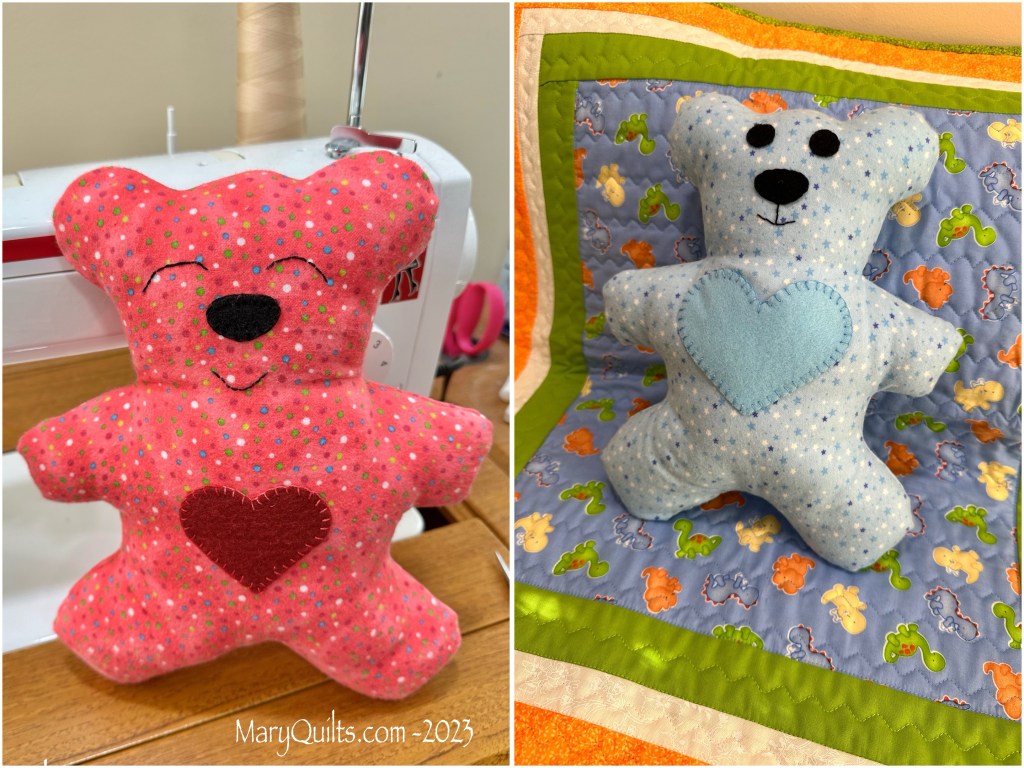
And here are a couple more made today to close out 2023 — I will continue to make bears and the doll quilts and donate them because I’m told that the children receiving them are loving them.
This was the last batch all wrapped up in their quilts and ready for donation.