This is such an easy quilt I bet you don’t even need instructions but I’ll share a few notes here.
First, this is my version of an antique quilt I saw on eBay. Quick – easy – fun, just my kind of quilt.
Here was my original draft, it would look great in two colors or completely scrappy.

How about a blue version with a pop of red like shown below?

Blocks are made from 2.5 inch strips
Block size is 10 inches finished (10.5 inches with seam allowances)
I’m setting my blocks 6×8 for a quilt that is 60×80 inches.
I’m also making my quilt from fat quarters so here’s how I’m cutting to make the best use of my fabric. I’m making my blocks in pairs so I’m taking two fat quarters that have good contrast and I’m going to cut 6 strips that are 2.5 inches x the length of my fat quarter … In my case the strips are about 21.5 inches long.
I need 3 strips of a light and 3 strips of a dark for two blocks.
Strip 1 – I sew a light strip to a dark, press, and subcut into (8) 2.5 inch sections
Strip 2 – subcut into (2)10.5 inch strips
Strip 3 – subcut into (2) 6.5 inch strips and (1) 2.5 inch square
This is what you’ll end up with:

I’ll sew my two 9 patches next

Notice one block has the light in the corners and one has the dark. If you are using directional fabrics, you will end up with one patch turned differently than the others but that doesn’t bother me. If it bothers you, you can pick that seam out and resew it or use a different method for making your 9 patch blocks.

After your 9 patch is sewn, add the framing strips. Make sure you frame the block with the fabric that is in your non dominant patch, that’s what makes the 9 patch jump out.

Keep making blocks in pairs until you have enough blocks for your quilt. The only variation I made to the above was when I was making the blocks with the red 9 patch centers … I didn’t need 3 strips of the red since I’m not framing any of the blocks in red.
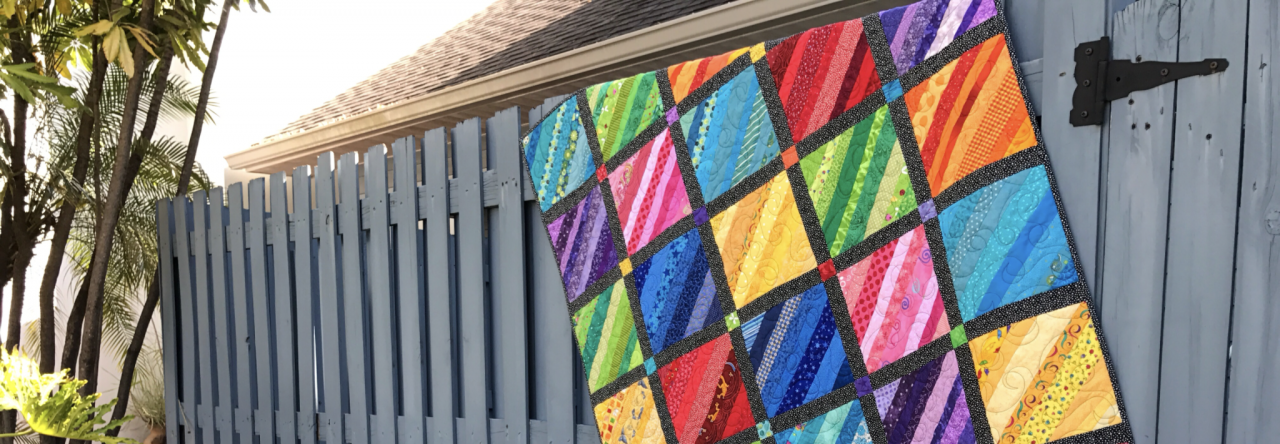
Here’s my finished quilt.

© Mary Johnson 2014 – MaryQuilts.com

Mary, thank you for posting these instructions. The charity quilt committee I belong to in my guild was given numerous boxes of fabric from a quilter who was downsizing her stash. This pattern will be perfect to use!
Pam in Middle TN
LikeLike
Thank you for your generosity in designing patterns and giving the instructions. I learned to quilt back when we had to draft patterns for a different size so looking at your pictures, I can decide what size to make and make the squares in my size. I sew every Friday at my church to make quilts for charity, we give to homeless people and nursing homes and other charities. I make tops most of the time and use a lot of parts or entire designs from your blog.
Thank you!
LikeLike
I really wanted to let you see the quilt I made from shirts purchased here in Poland. I believe I saw your pattern/idea and used it when I made it. I love it! But I have no idea how to let you see it.
Thanks for your great website!
LikeLike
BECKY PETERSEN — A digital pic of your quilt put onto your computer as a .jpg file could be emailed to Mary’s email address as an attachment. Hope that helps. MARY — Thanks for this nifty strip-piecing pattern. I think 2016 will be a year to reduce stash (really!) and this is a fun quilt for it. Blessings.
LikeLike
Thanks, Mary! I like a simple, easy quilt. It lets the fabrics & colors shine.
LikeLike
Thanks for this pattern, I love it.
LikeLike
Looks great. I saw something similar with layer cake match ups and a shoefly block and loved the idea. Maybe now I’ll do something with it.
LikeLike
Another good one! Discovered this when AlyciaQuilts showed the one she made. You ladies keep me in literal stitches!
LikeLike